One of the most commonly used widgets is the ‘text widget’. We’ve found many authors using this  nifty widget to create a ‘buy now’, ‘recently read book’ or any other nice piece of information.
This widget supports html as well as plain text and what we see a lot is usually some copy/paste from a website. This gives mixed results as the html from one site might (mostly not) work for yours.
Let’s check out some examples you can use in your site without breaking anything…and make it look good.
# Display an Image
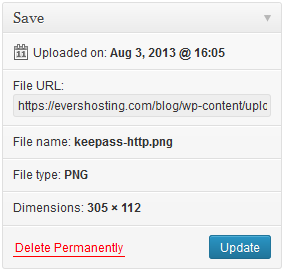 First download or create the image you want to display in your widget and upload it in your WordPress Media Library. After uploading, go to the library, find the freshly uploaded image and click ‘edit’. Copy the image link from the box on the right.
<img
alt=”short description” src=“the link you just copied”
>
In the above little code example you can see what the HTML looks like.
Now here’s a working example written in one line taken from the example:
<img alt=”keepass in taskbar” src=”https://evershosting.com/blog/wp-content/uploads/2013/08/keepass-http.png”>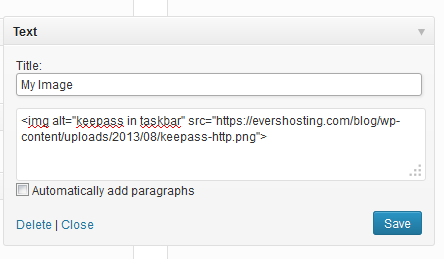 All done, you’ve just created a custom image widget with clean HTML code.
# Image with click-able link
Let’s add a link to this image so you can direct visitors to go buy, vote or check out anything you want to.
<a href="the link for people to click"><img scr="link to your image"></a>
Updated example from my image. The new additions are in bold style.
<a href="http://voteformehere.com-or-some"><img alt="keepass in taskbar" src="https://evershosting.com/blog/wp-content/uploads/2013/08/keepass-http.png"></a>
# Multiple images with text, links and neatly aligned
Let’s jump into a bit more complicated stuff.
Here’s the mark-up to display multiple images with text in a list form. Mix and match the various style options/values to place your images and text the way you want it.
<ul>
 <li>
<a href="link to click" title="image title" style="float:right; padding:20px 5px;" >text next to image</a> <img alt="optional description" src="image link" width="150px" height="150px;"></li> <li><a href="link to click" title="image title" style="float:right; padding:20px 5px;" >text next to image</a> <img alt="optional description" src="image link" width="150px" height="150px;"></li> <li><a href="link to click" title="image title" style="float:right; padding:20px 5px;" >text next to image</a> <img alt="optional description" src="image link" width="150px" height="150px;"></li> </ul>
What’s going on here. First there’s a <ul> tag to start an unordered list. Followed by <li>, list items. You can add as many as you need here. The anchor <a> tag with the link and the <img> we’ve seen before. A new element style is added to make sure the images and the text are aligned.
You might want to play with the width, height and padding to get the results you’re after.
Use the ‘style’ tag
style=”option:value separated by a ;” – You can add the style tag to any element, not just an anchor <a> or image <img>
<a href="" style="float:right; margin-left:10px; text-align:center; padding: 5px 1px 3px 30px;">
<img scr="" style="float:right; margin-left:10px; text-align:center; padding: 5px 1px 3px 30px;" width="100px" height="100px">
Create your own widget based on these examples and have a few plugins less 🙂
Need help? e-mail us here.